✅ Exporting the first branch for my Go-Over
This post is a continuation of my Genealogy Go-Over Journey overview post. The “Table of Contents“ is provided at the bottom of this post as well.
As I documented earlier, I have my family tree in MacKiev’s Family Tree Maker (FTM) for Mac. This post is specific to the processes of Family Tree Maker. If you use other software, you will need to modify the process to fit your needs and your software’s capabilities. My master tree has over 23,000 people, 144,000+ facts, 85,000+ citations, 18,000+ places, 4,400+ media items. I will start a new tree by exporting my father’s paternal grandfather’s family. My goal is to clean up this new, smaller tree and then export the next branch and merge it in. This particular post will be about exporting the first great-grandparent’s line. Subsequent posts will show how to do the “Go-Over/Cleanup” for this branch, and then I will show how to move to the second set of Great-Grandparents to continue to build the tree. These instructions work for both Mac and Windows versions of FTM. I am using Family Tree Maker 2019.
In this process, I created a brand new tree. I did so by exporting all of the ancestors and all of their descendants with my Great-Grandfather, George Washington Burkett as the beginning person.
Now, if you have a smaller tree, you might not see any great utility in breaking up your tree for the cleanup. I felt that by concentrating on one branch of my family at a time, I could be more systematic and thorough, as I would be very focused on that part of the family from start to finish.
Creating Saved Filters for Exporting Branches
Before I got started, I wanted to create some Saved Filters in FTM so that I could see what all of the branches of my family look like. Here is how I created the filters. I started with George Washington Burkett, my father’s Paternal Grandfather, and created a filter for each of the people related to him. I saved that filter, and created one for my father’s Paternal Grandmother, Maternal Grandfather, and so on. I ended up with 8 saved filters for my family. Here are the steps to do so. Find your father’s paternal grandfather. In my case, since I am the “home” person in my tree, I just clicked on the home button at the top of my tree browser, and walked up the line to my father, his father and then his father. My tree happens to be color coded by Great-Grandparent lines, so I’m looking for the “Red” line here!
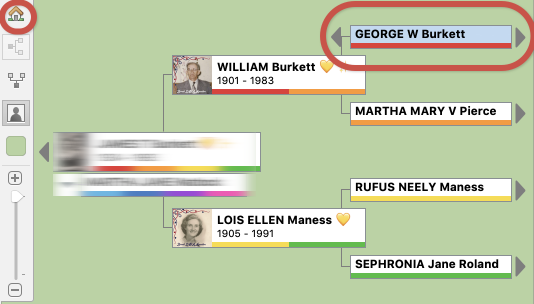
With George Washington Burkett selected, I see him in the left hand index browser. Since there are a number of George Washington Burketts in our family, I need to be careful to choose the proper one!
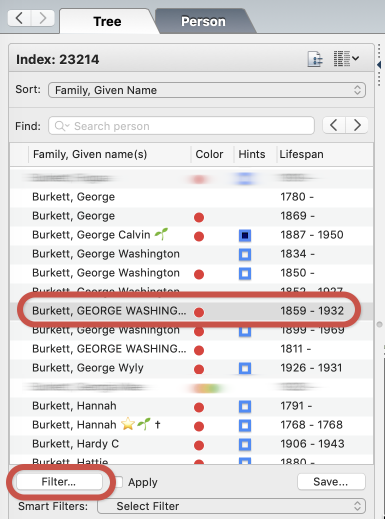
Beginning the creation of a filter
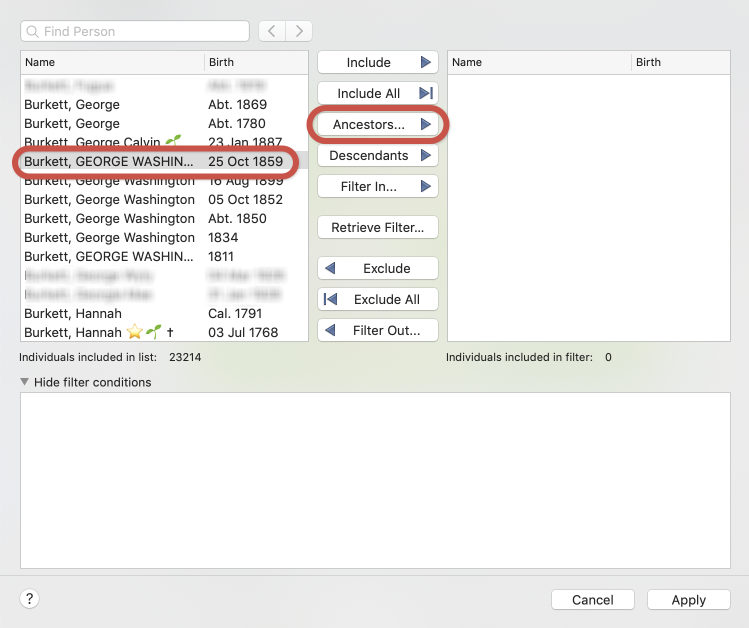
With good old George selected, I click Filter. I see this dialog. Once again, verifying that the proper George is selected, I click on the “Ancestors…” box.
 A new dialog appears. I of course want EVERYTHING. So I indicate 999 generations, all parents (including step, adoptive, etc.), all spouses, and 999 generations of all of this ancestor’s descendants. This will give me all people who are attached to George as his ancestors, all of his relations, no matter how distant, and all of his children, grandchildren etc.
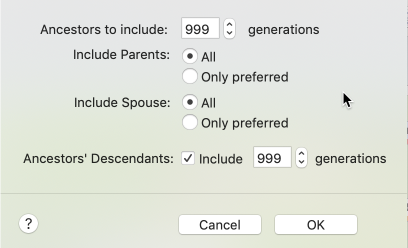
Choosing the generations for the filter
Once I click OK, I will see the list of people for this filter, and in the bottom half, I will see what my filter criteria are.
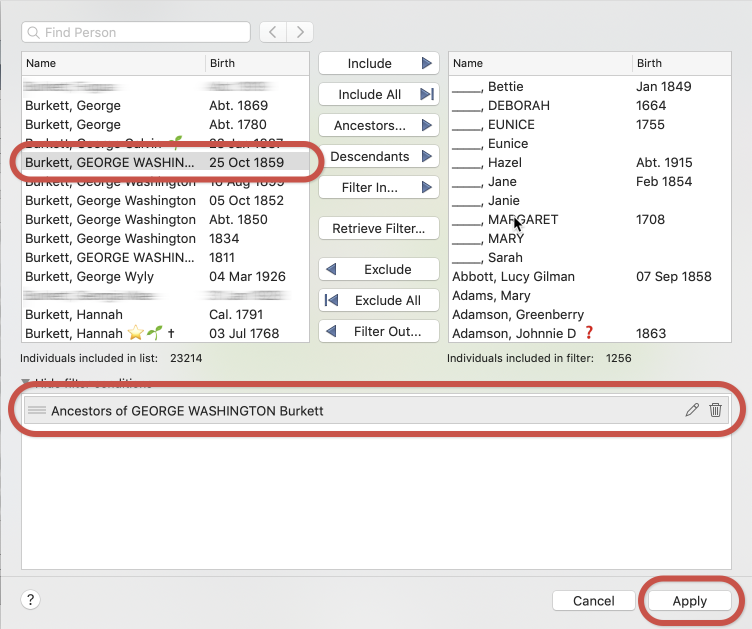
Verifying and Applying the Filter
Clicking Apply returns me to the index list. Here I can click Save, and give it a name. I have named my filters by the name of the ancestor, so “Export Burkett”, “Export Pierce”, etc.
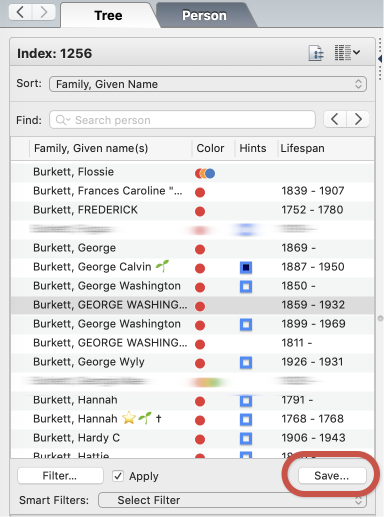
Saving the Filter
Repeat this for the remaining 7 of your great-grandparents by finding that great-grandparent in the list, and then click Select Filter at the bottom of the index, and choose “New Filter”. Walk through the steps above to create and save a new filter for each great-grandparent.
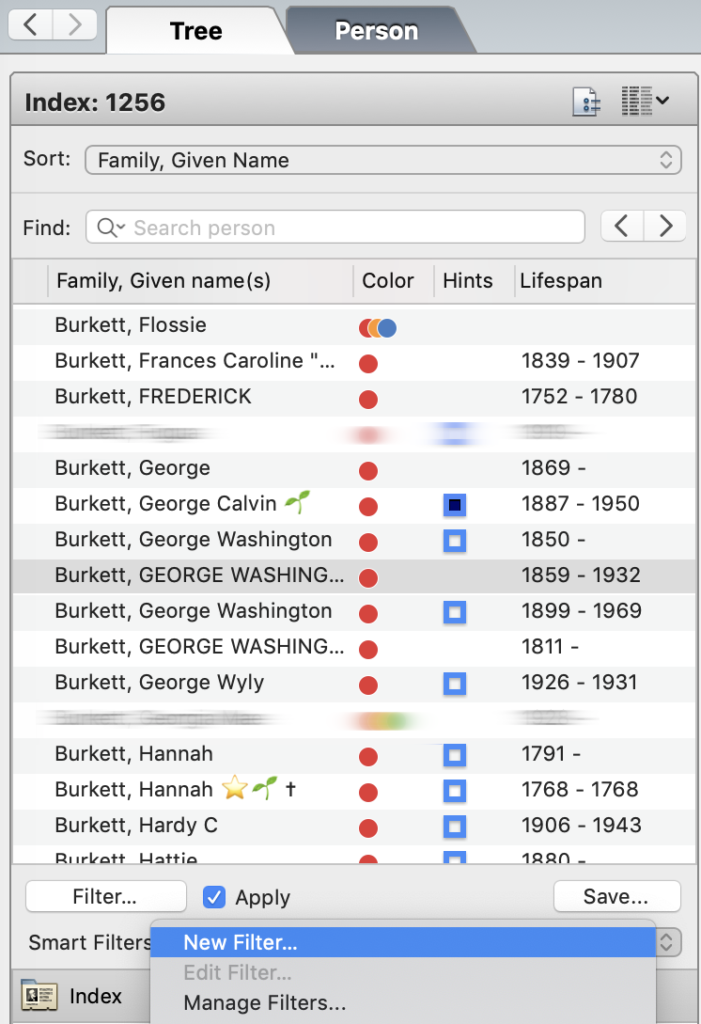
Repeat for each Ancestor
You can then use these filters to export your first branch of your tree. When I click on “Select Filter” I see all of my saved filters.
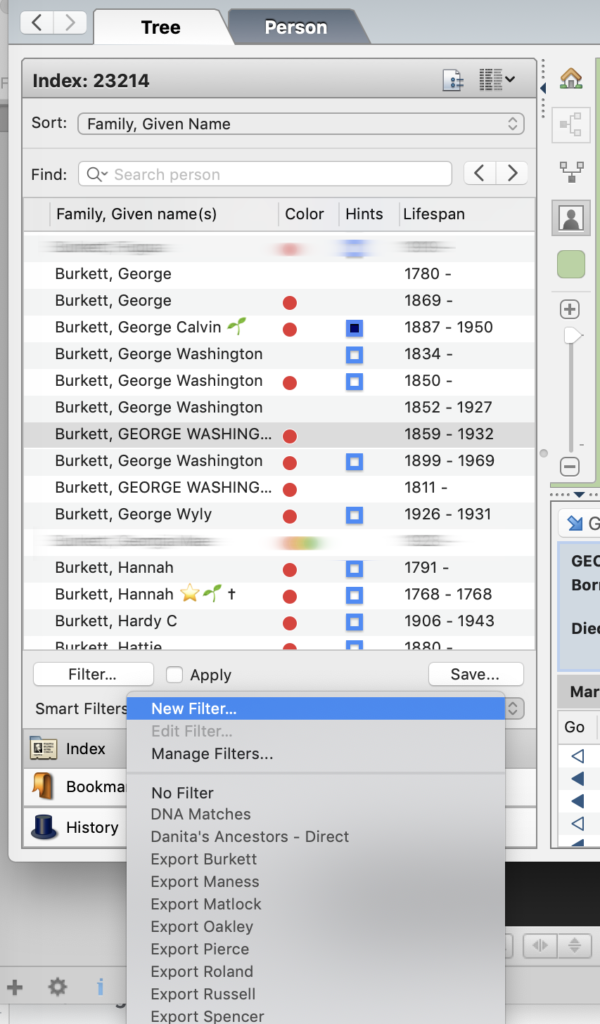
Filters List
I will be able to use these filters through this process as I export one line of the family at a time.
I even made a little table of how many people were in each branch before I started. It’s useful to see how things change over time as you bring in your tree!
Burkett
Pierce
Maness
Roland
Matlock
Russell
Oakley
Spencer
1256
236
2896
1368
4186
1372
2585
3275
It was also interesting how relatively small my “Pierce” line is. Unfortunately, we’re not sure who my Great-Grandmother Mattie Pierce’s father was. I have a hunch, but he seems to have died when she was very young. She and her mother Nancy Barlow are living with her maternal grandparents in 1860, and she was only 1 year old. I found a possible marriage license in that town in 1855 between an R M Pierce and Nancy Barlow. Very difficult to know though if it’s the same person – hopefully DNA will aid in that.
Exporting your great-grandparent branch
Okay – with filters saved it’s time to export the first line. Simply go to File|Export, and choose “Saved Filter” under “Individuals to export” on the left. Choose your filter from the dropdown. The box to include only items linked to selected individuals should be checked. All of the options on the left should remain at the defaults as shown.
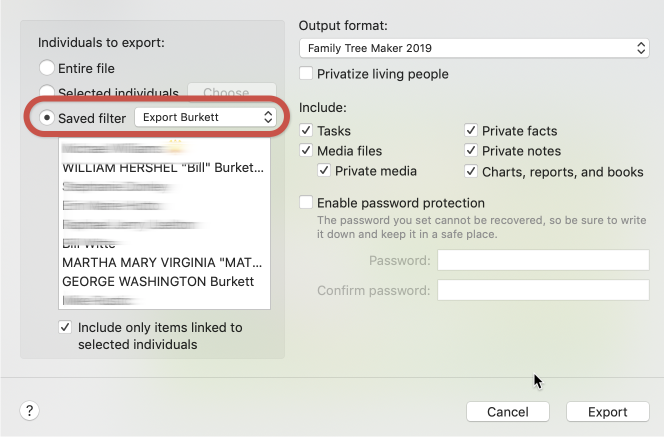
Exporting your first branch into a new tree
Click Export, and choose a location and name for your tree. This is not a temporary tree. This will be the “new and improved” tree you will work on for the rest of this project. Name it something you like. For me, since this tree represents a blend of my ancestors, and the ancestors of my spouses, I decided to give it a name that really represents the spirit of our family. Our Wandering Families. As we move through the rest of this process, I will always refer to my “new” tree as Our Wandering Families.
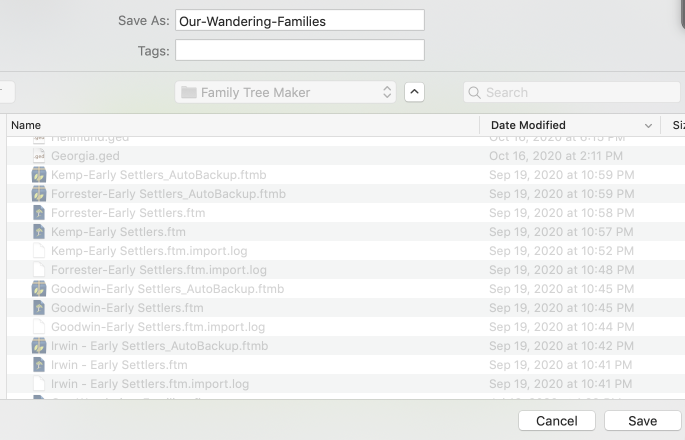
Save your tree
Save your new tree.
You will see a dialog that indicates the status of the export.
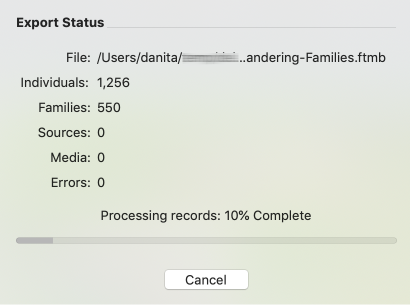
Saving in progress
Your tree has actually been saved as a Family Tree Maker Backup file. You will thus need to open the backup and “restore” this file. Go to the File menu and Choose Restore. Browse for your backup file in the directory you chose.

Restore your backup into permanent tree name
Look for the ftmb (Family Tree Maker Backup) file you just created.
Click Open. You will then need to indicate where you wish to save this file – it’s usually in the same directory.

Save your new tree
Choose the location and click Save.
Your file will be “restored” and the new tree created! You are ready to get started with the hard work now!
Syncing with Ancestry.com: Marking Media “Private” Before the Big Sync
I sync my trees to Ancestry.com. I want to make this process as easy as possible for the first sync. Generally, the most difficult part of syncing to Ancestry for a new tree is the media uploads. I’ll avoid this in the beginning by marking all of the media “private”. This prevents Family Tree Maker from uploading the media files until I am ready. Since I have a process for verifying the media (see MEDIA….) during my Go-Over, I can turn off the private flag for media as I have completed the work verifying it. This keeps any particular sync session with Ancestry from having a large number of media items to work with. Using this process, I’ve also found that there is media I simply do not wish to upload to Ancestry, and I will continue to keep it private in this tree.
So, here in my new “Our Wandering Families” tree, I am going to the media tab, selecting all (Edit|Select All), right-click and Mark Private.

Mark your media private if you will uploading to Ancestry
Once I have all media marked Private, the initial upload of this tree to Ancestry.com will be fairly painless, but will take some time, depending on how many people are in this new tree!
As a note, you will use these same steps for the remaining 7 of your great-grandparents as you complete each family branch. For your remaining great-grandparents you will actually be MERGING their information in this new tree you have created. Thus, when you save the trees for the 2nd and subsequent branches, it really will be a “temporary” tree, and I would suggest just naming it by the family name. Thus, when I’m finished with the work on the Burkett branch, I will return to these instructions and export the “Pierce” line, naming that new tree “Pierce Export” or something like that. Then I’ll go on to the Merging your next branch into your new tree post in these instructions to see how to merge this temporary tree into my “Our Wandering Families” tree.
Time for the cleanup!
Here’s the Table of Contents so far!
- ✅ A Genealogy Do-Over/Go-Over Tale
- ✅ My Genealogy Tools
- ✅ Genealogy Goals for the Go-Over and Beyond
- ✅ Defining Important Tasks for the Go-Over
- ✅ Family Tree Maker Backup and Database Maintenance Procedures
- ✅ Exporting the first branch for my Go-Over
- ✅ Defining and Cleaning Place Names in Family Tree Maker
- ✅ Defining and Cleaning Media – General
- ✅ Cleaning Sources – General
- Cleaning Sources – Census Records
- Cleaning Sources – Find a Grave
- Cleaning Facts
- Cleaning Place Names in Family Tree Maker
- ✅ Merging your next branch into your new tree – Family Tree Maker 2019
- ✅ How Wikitree changed my FTM processes


Pingback:Merging your next branch into your new tree – Family Tree Maker 2019 – This Family Journey